⚠ This is an
archived version of our Community Check Box help documentation.
Please find our most up to date documentation at
Community Check Box Help.
Manage Report Templates
Please Note:
- Report templates can only be created by KU Center for Community Health and Development staff or Site Owners. If you want to create a report from an existing template, please see
Creating Reports.
- If you are adding an Accomplishments listing to the report, you must
create a saved view before you setup the report.
- You will not enter the date range in the template, just the time period (monthly, quarterly, yearly, other). The person who creates the report will enter the date range when they create the report.
Creating a Saved View 
NOTE: This video is part of the Basic Accomplishments training video.
A saved view is how you can filter for content (e.g., date range, specific strategy, etc.), and select the specific columns that you want to appear in the report template.
-
Click the
View Data button on the dashboard.
-
If you want to add filters to the view you will save, click on
Filter Accomplishments.
-
Select the date range filter and any other filters needed.
-
Click Apply Filter.
-
If you do not want to add filters, click the
Choose dropdown list on the left, and select the fields you want in your view. Do not select more than four or five columns, so the accomplishments table will be readable in the Report.
-
Click
Save View.
-
Enter the
View Name.
-
Click
Save.
Creating Report Templates
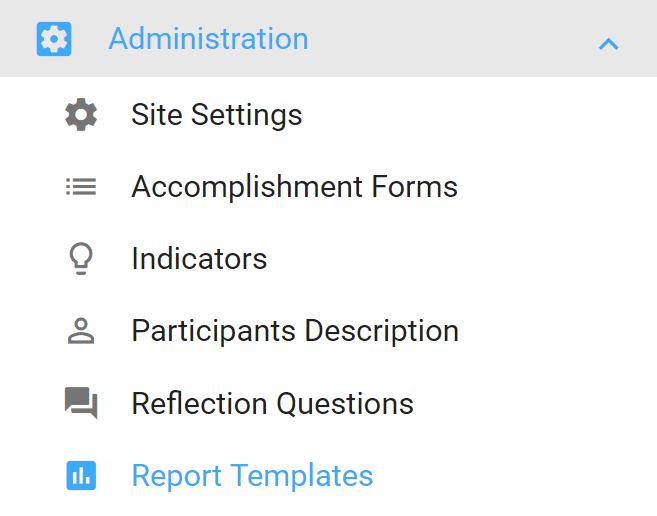
- Select Report Templates under
Administration.
-
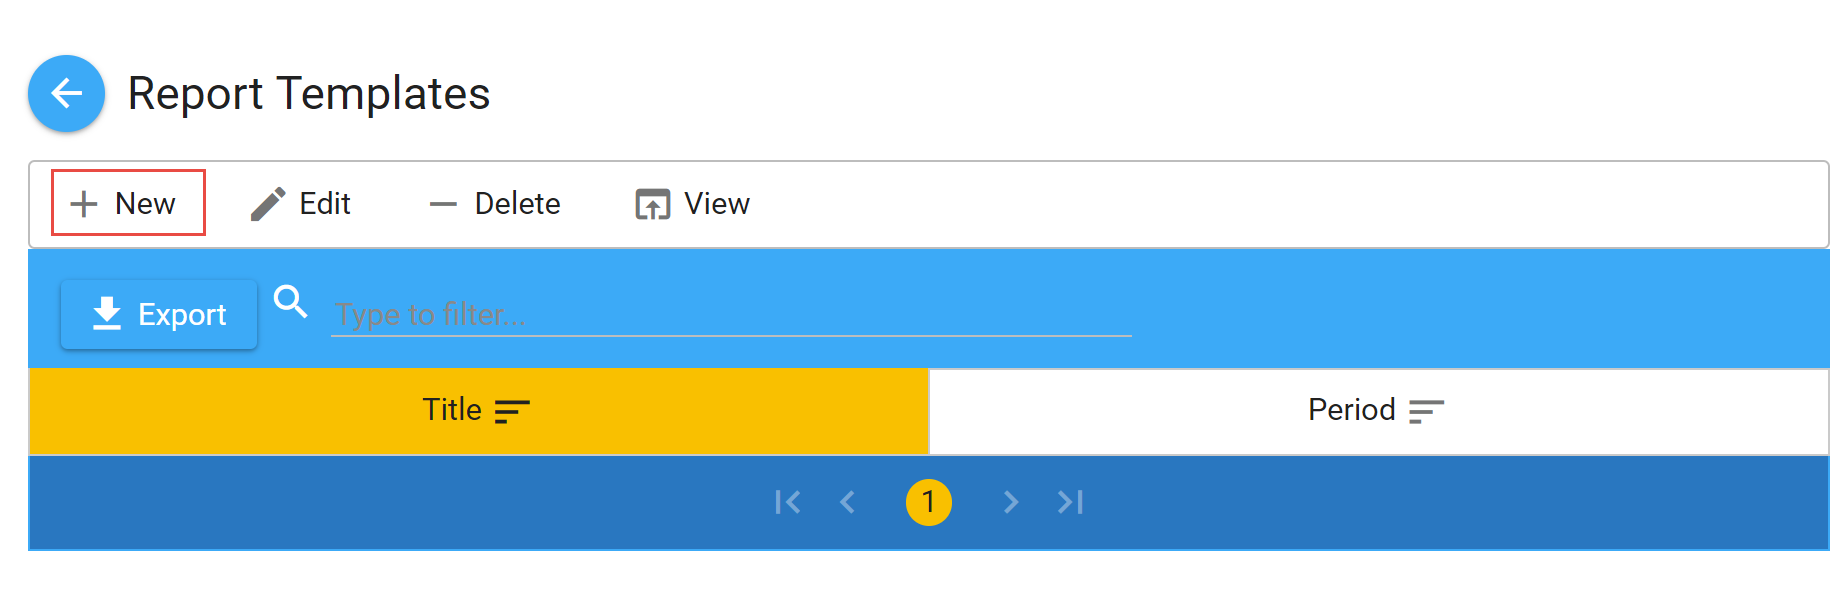
Click on
New, enter the report's
Title and a
Period of time for your report.
-
Click
Save.
- Click once on your report title to select it, then click
Edit. You will now see an
Add Section button has been added to the Report Template Form title page.
- Click
Add Section.
- Enter the
Section Name.
- Move the button to the right if you want the
Section Name Displayed in the report.
- Enter the
Display Number. This orders the display of sections in your report. We recommend entering your display numbers by tens. Then if you need to move a section around later you don't have to renumber all the sections.
- Select the
Section Type: Accomplishments List, Graph, Image, Key Events, Question or Text.
- Select the
Section Type. If you select:
- Graph: select the
Select Site, particular
Graph, and enter a
Graph Caption if needed.
-
Image: move the toggle if you want to Display on Title Page, then Upload Image, and enter an Image Caption if needed.
-
Accomplishments List: select the Select Site, Form Name, and View Name. Saved views are created in Accomplishments.
-
Key Events: select the Select Site.
-
Question: enter a question that you want the person creating the report to answer.
-
Text: enter the text you want to display on the report. This text will be editable by the person who creates the report. Please note that the text editor is not robust. The basics are there (e.g., bold, italics, font color, bullets, numbered list, etc.), but you can't do things like tables. We may be able to add that in the future, but not now.
- Create additional sections as needed.
- When you are done, you should have a report that looks like the following image. Click Save to save the report.
-
Go create a test entry of your report to ensure that it looks the way you want.

Editing Report Templates
- Click on the report name and then on
Edit.
- To add a section, click
Add Section (see steps above).
- To edit an existing section, expand the section and click on
Edit.
- Make the needed edits and
Save.