⚠ This is an
archived version of our Community Check Box help documentation.
Please find our most up to date documentation at
Community Check Box Help.
Accomplishments
It's easier than ever to enter, view and work with your accomplishments. The buttons to
Enter Data and
View Data are right there on your CCB Dashboard. You now have the ability to save a view so you see the data you want each time you view your data. There is also a new Data Sheet entry option. Hope you enjoy these new options.

You enter data about your organization's activities, which are called Accomplishments, in the Community Check Box (CCB). The CCB generally captures the following types of data in Accomplishments: Community Action (CA), Community Change (CC), Development Activity (DA), Services Provided (SP), Resources Generated (RG), Media (M) and Other (O) – as well as other customized data that your group has determined to collect. It is important to note that the exact data options you see will depend on the customizations that have been made to meet the unique needs of your group.
NOTE: Be sure that you are familiar with the Coding Instructions and Definitions before you begin entering Accomplishments.
To enter an Accomplishment:
- To create an entry click on the Enter Data button on the Dashboard.
NOTE: If you have more than one CCB form on your site you can select a different form by clicking on Accomplishments in the left navigation list, selecting the form you want, and then click
New.
- Select items from drop-down menus by clicking the arrow located to the right of the entry field to see the options and choose the most relevant option(s).
- Select or deselect check boxes by clicking the box.
- When you select some options (e.g., Code), you will notice that a new set of questions appear.
- You will see this help icon
 associated with some of the questions. Click on it for information to help you answer the question.
-
If your CCB form contains a frequency field, you will see that 1 is the default. Only enter a different number if the activity you are documenting happened more than once. For example, if you gave the same presentation to three schools, you could enter 3 here instead of creating three separate entries. This special frequency field will multiply the numerical data, and some of the dropdown or multiselect data, by this number.
- Once you are finished entering information about an Accomplishment, click on:
-
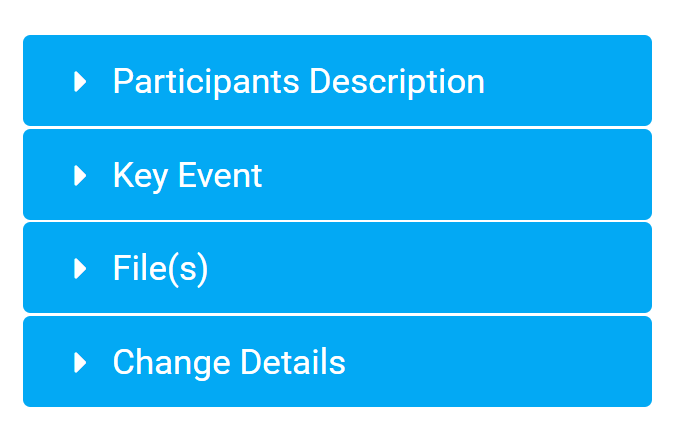
Save if you need to add
Participants Description, Key Event or File(s)—select the appropriate sidebar tab and complete the fields shown.
NOTE: If you are attaching a file, please note that the CCB only allows xls, xlsx, doc, docx, pdf, bmp, gif, jpg and png files to be uploaded.
-
Save and Close if this is the only entry you want to complete. This will return you to the accomplishments listing.
-
Save & Add Another if you want to add another entry.
-
Once an accomplishment is created, all changes are recorded in the Change Details sidebar tab. You can see when the accomplishment was created, as well as details about any changes made to the original entry.
To view existing accomplishments, click on the
View Data button on the dashboard to see a list of accomplishments.
NOTE: If you have more than one CCB form on your site you will need to select the appropriate form by clicking on Accomplishments in the left navigation list.
Initially only the
New,
Export,
Import,
Data Sheet, and
Saved View options will be active. If you click on one accomplishment, you will see that all these options become active.
Edit an existing accomplishment
- Click on the View Data button on the dashboard.
- Double-click on the existing entry to open the edit window.
- Or, if you are on a mobile device, click the existing accomplishment once and then click Edit from the top bar on the page.
- Edit responses to any questions that need to be changed.
- Navigate to the accomplishment entry that is the model for the entry.
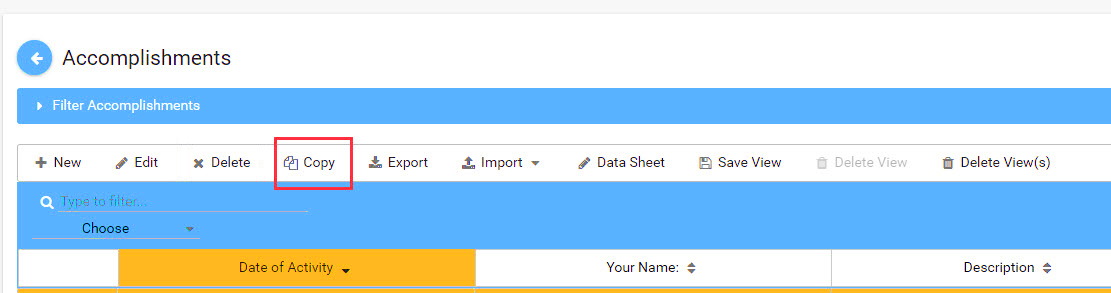
- Click on it once to select it.
- Select "Copy" from the toolbar.
- Once the copied accomplishment listing is pulled up, simply update the relevant fields (e.g., date, number reached, etc.) and
Save.
- Click on the View Data button on the dashboard.
- Click the existing accomplishment once.
- Select Delete or
Copy from the top bar on the page.
-
If you select
Delete, you will get an "are you sure?" message. If you click
Yes, then your message will be deleted.
-
If you select
Copy then you will see a duplicate entry appear in the accomplishment list.
-
Once the copied accomplishment listing is pulled up, simply update the relevant fields (e.g., date, number reached, etc.) and save.
You can customize the columns and data displayed when you view accomplishments and save your view (date range, fields, and filters) so that you will see the same view when you return.
-
Click on the View Data button on the dashboard.
-
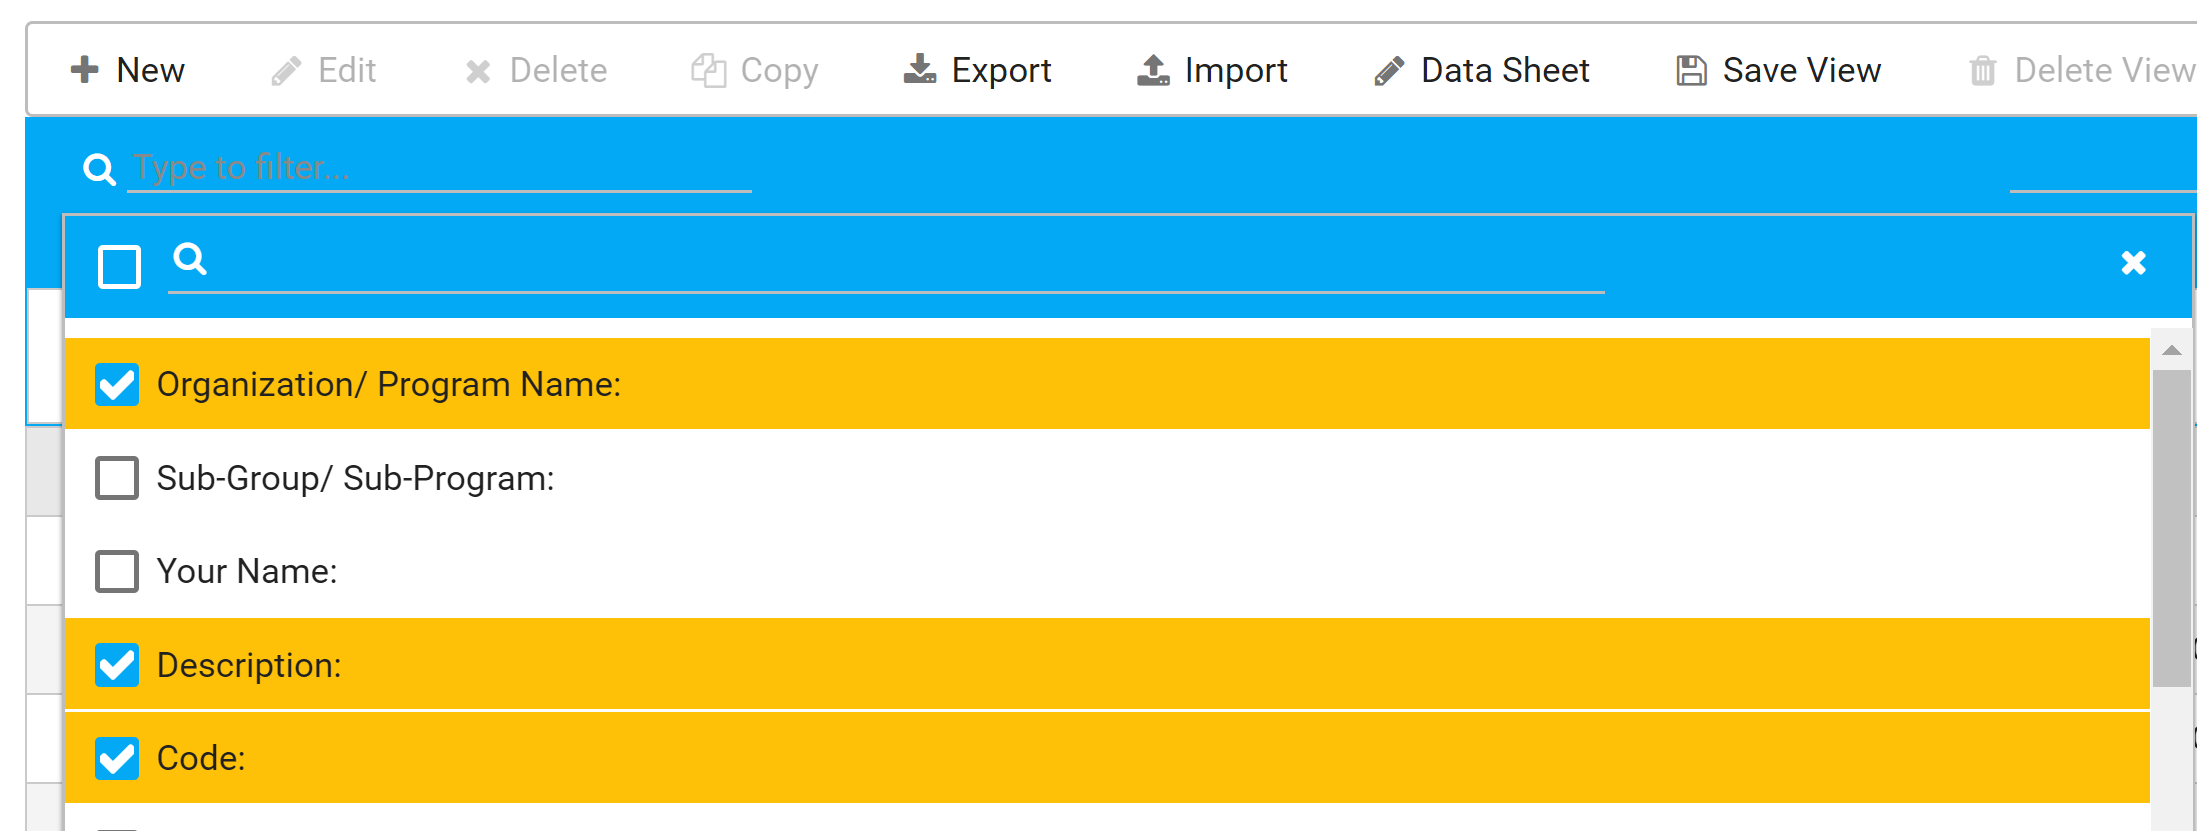
Click the
Choose dropdown list on the left and
select the fields you want in your view. It might be difficult to read if you choose more than five or six columns, depending on the width or size of your monitor.
-
If you do not want to add any data filters to your view, click
Save View.
-
If you want to add filters to your view, click on the
Filter Accomplishments menu bar at the top.
-
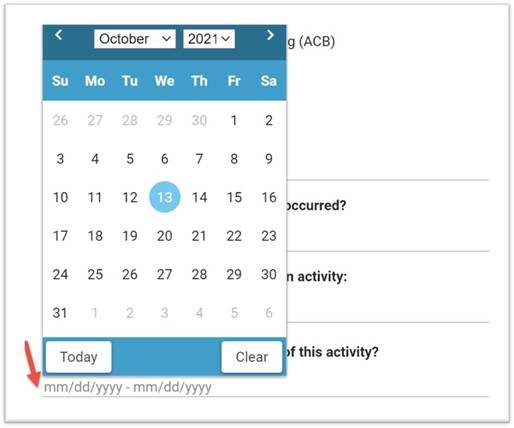
You can create a
date range from any Date Field now. Just enter the start and end dates into the filter field, using the indicated format below (mm/dd/yyyy - mm/dd/yyyy) by either the calendar picker or by typing it in:
-
After selecting any desired filters, click
Apply Filter.
-
Click
Save View.
Datasheet view can help you edit multiple entries without opening and saving each one individually. You must create a Saved View before you can use Datasheet View. Please review the Saved View instructions above before you use these instructions.
NOTE: You can only edit text, date and dropdown fields in this view.
- Click the View Data button on the dashboard.
-
Select the Saved View you want to use. You must use a saved view for Datasheet view to work.
-
Click Data Sheet above the entries.

-
Click into the text, date or dropdown field you want to edit.
-
Make edits as needed. Clicking on another field will save the edit.
-
If you are adding or editing dates, please use the calendar provided. You will see the calendar date of 6/20/2019 change to June 20, 2019 when it is saved.
-
When you are done, click on the arrow left of Accomplishment Data Sheet to return to the accomplishment list.
-
Click on the View Data button on the dashboard.
-
If you want to export all accomplishments:
-
Click
Export.
-
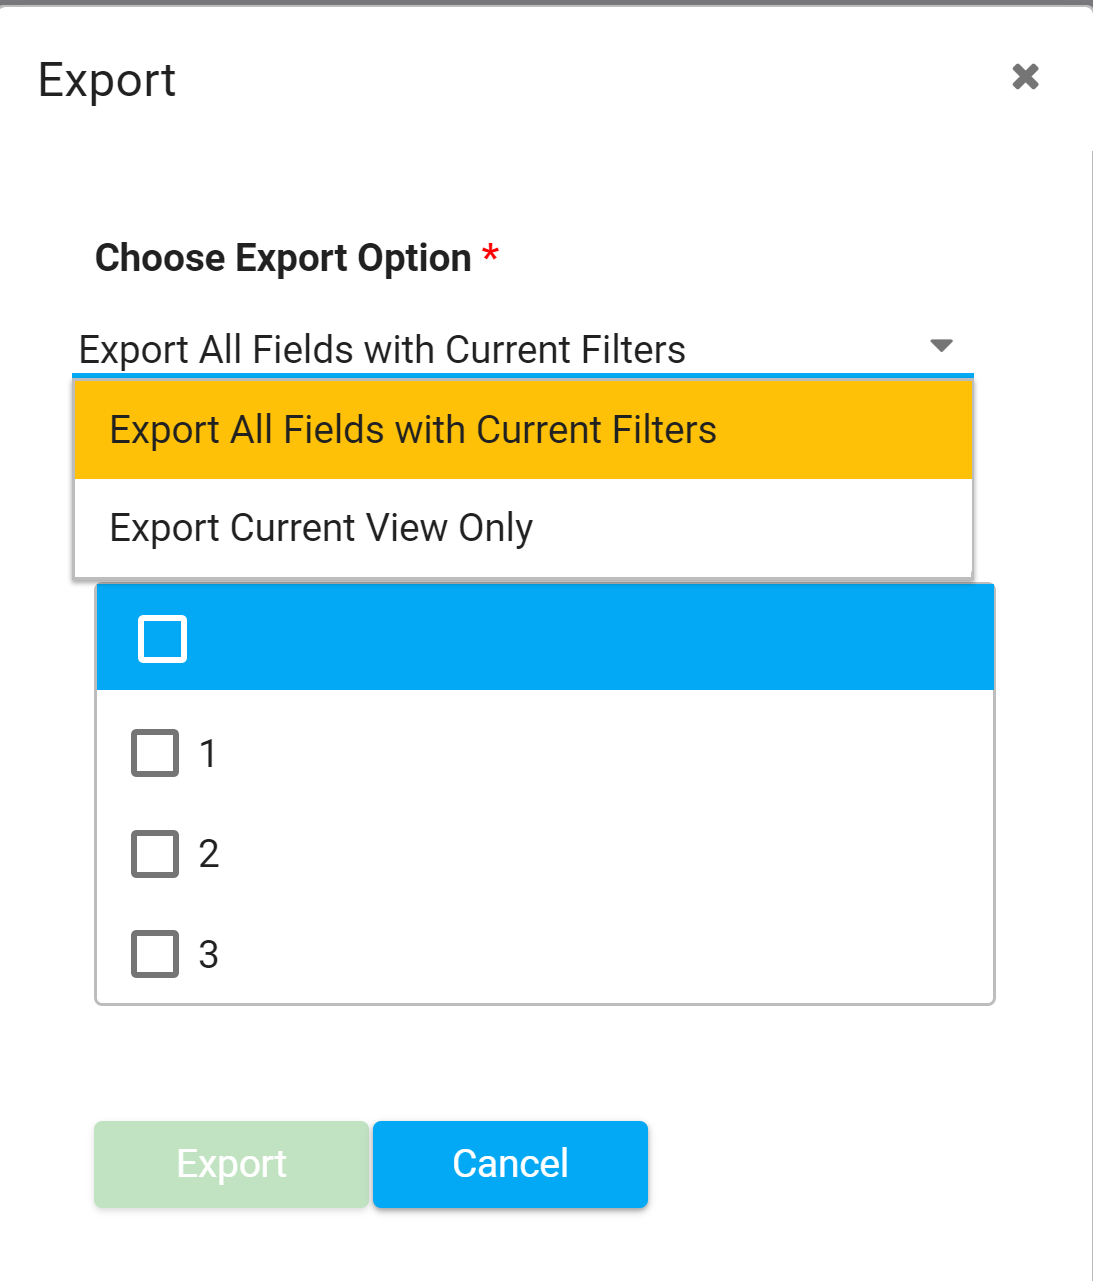
Select
Export All Fields with Current Filters. Since you have not applied any filters, all data will be exported.
-
Select the observer entries you want to export. If you want to export all versions, check the top checkbox.
-
Click
Export.
-
If you want to export specific entries:
- Click
Filter Accomplishments and select the filters you want, e.g. date range, and observer.
- Click
Apply Filter.
-
If you only want to export fields in a Saved View, then
select that Saved View from the View drop down menu.
- Click
Export.
- Select Export All Fields with Current Filters if you did not apply a Saved View.
-
Select
Export Current View Only if you applied a Saved View. This will export only the fields that appear in your Saved View, and that match any filters you have applied.
-
Select the observer entries you want to export. If you want to export all versions, check the top checkbox.
- Click
Export.
There are some tasks that can make your accomplishments export document easier to use. We recommend that everyone at least save the document as an Excel file (steps 1-3). Use the other tips if they seem helpful to you.
-
Open the downloaded file.
-
Enter the file name and select
Save As >
Excel Workbook.
-
Click
Save.
-
Select the header row of the document.
-
To search or sort by any column: click
Data >
Filter.
-
To display the header row at the top of the document as you scroll down:
-
Select the header row again.
-
Select
View >
Freeze Panes.
-
Select
Freeze Top Row.
-
To remove the 0:00 time from behind the date:
-
Select the B column (Date of Activity), right click and select
Format Cells.
-
Click
Date and select the
3/14/2012 option. This will remove the 0:00 time from behind the date.
-
Repeat as needed for any other date columns in your form,
except for the Created on and Modified on columns. It is helpful to leave the timestamp on those columns.
-
Click
Save to save all your updates.
NOTE: Only Site Owners and KU staff have the ability to import accomplishments. The Import link will be grayed out for other users.